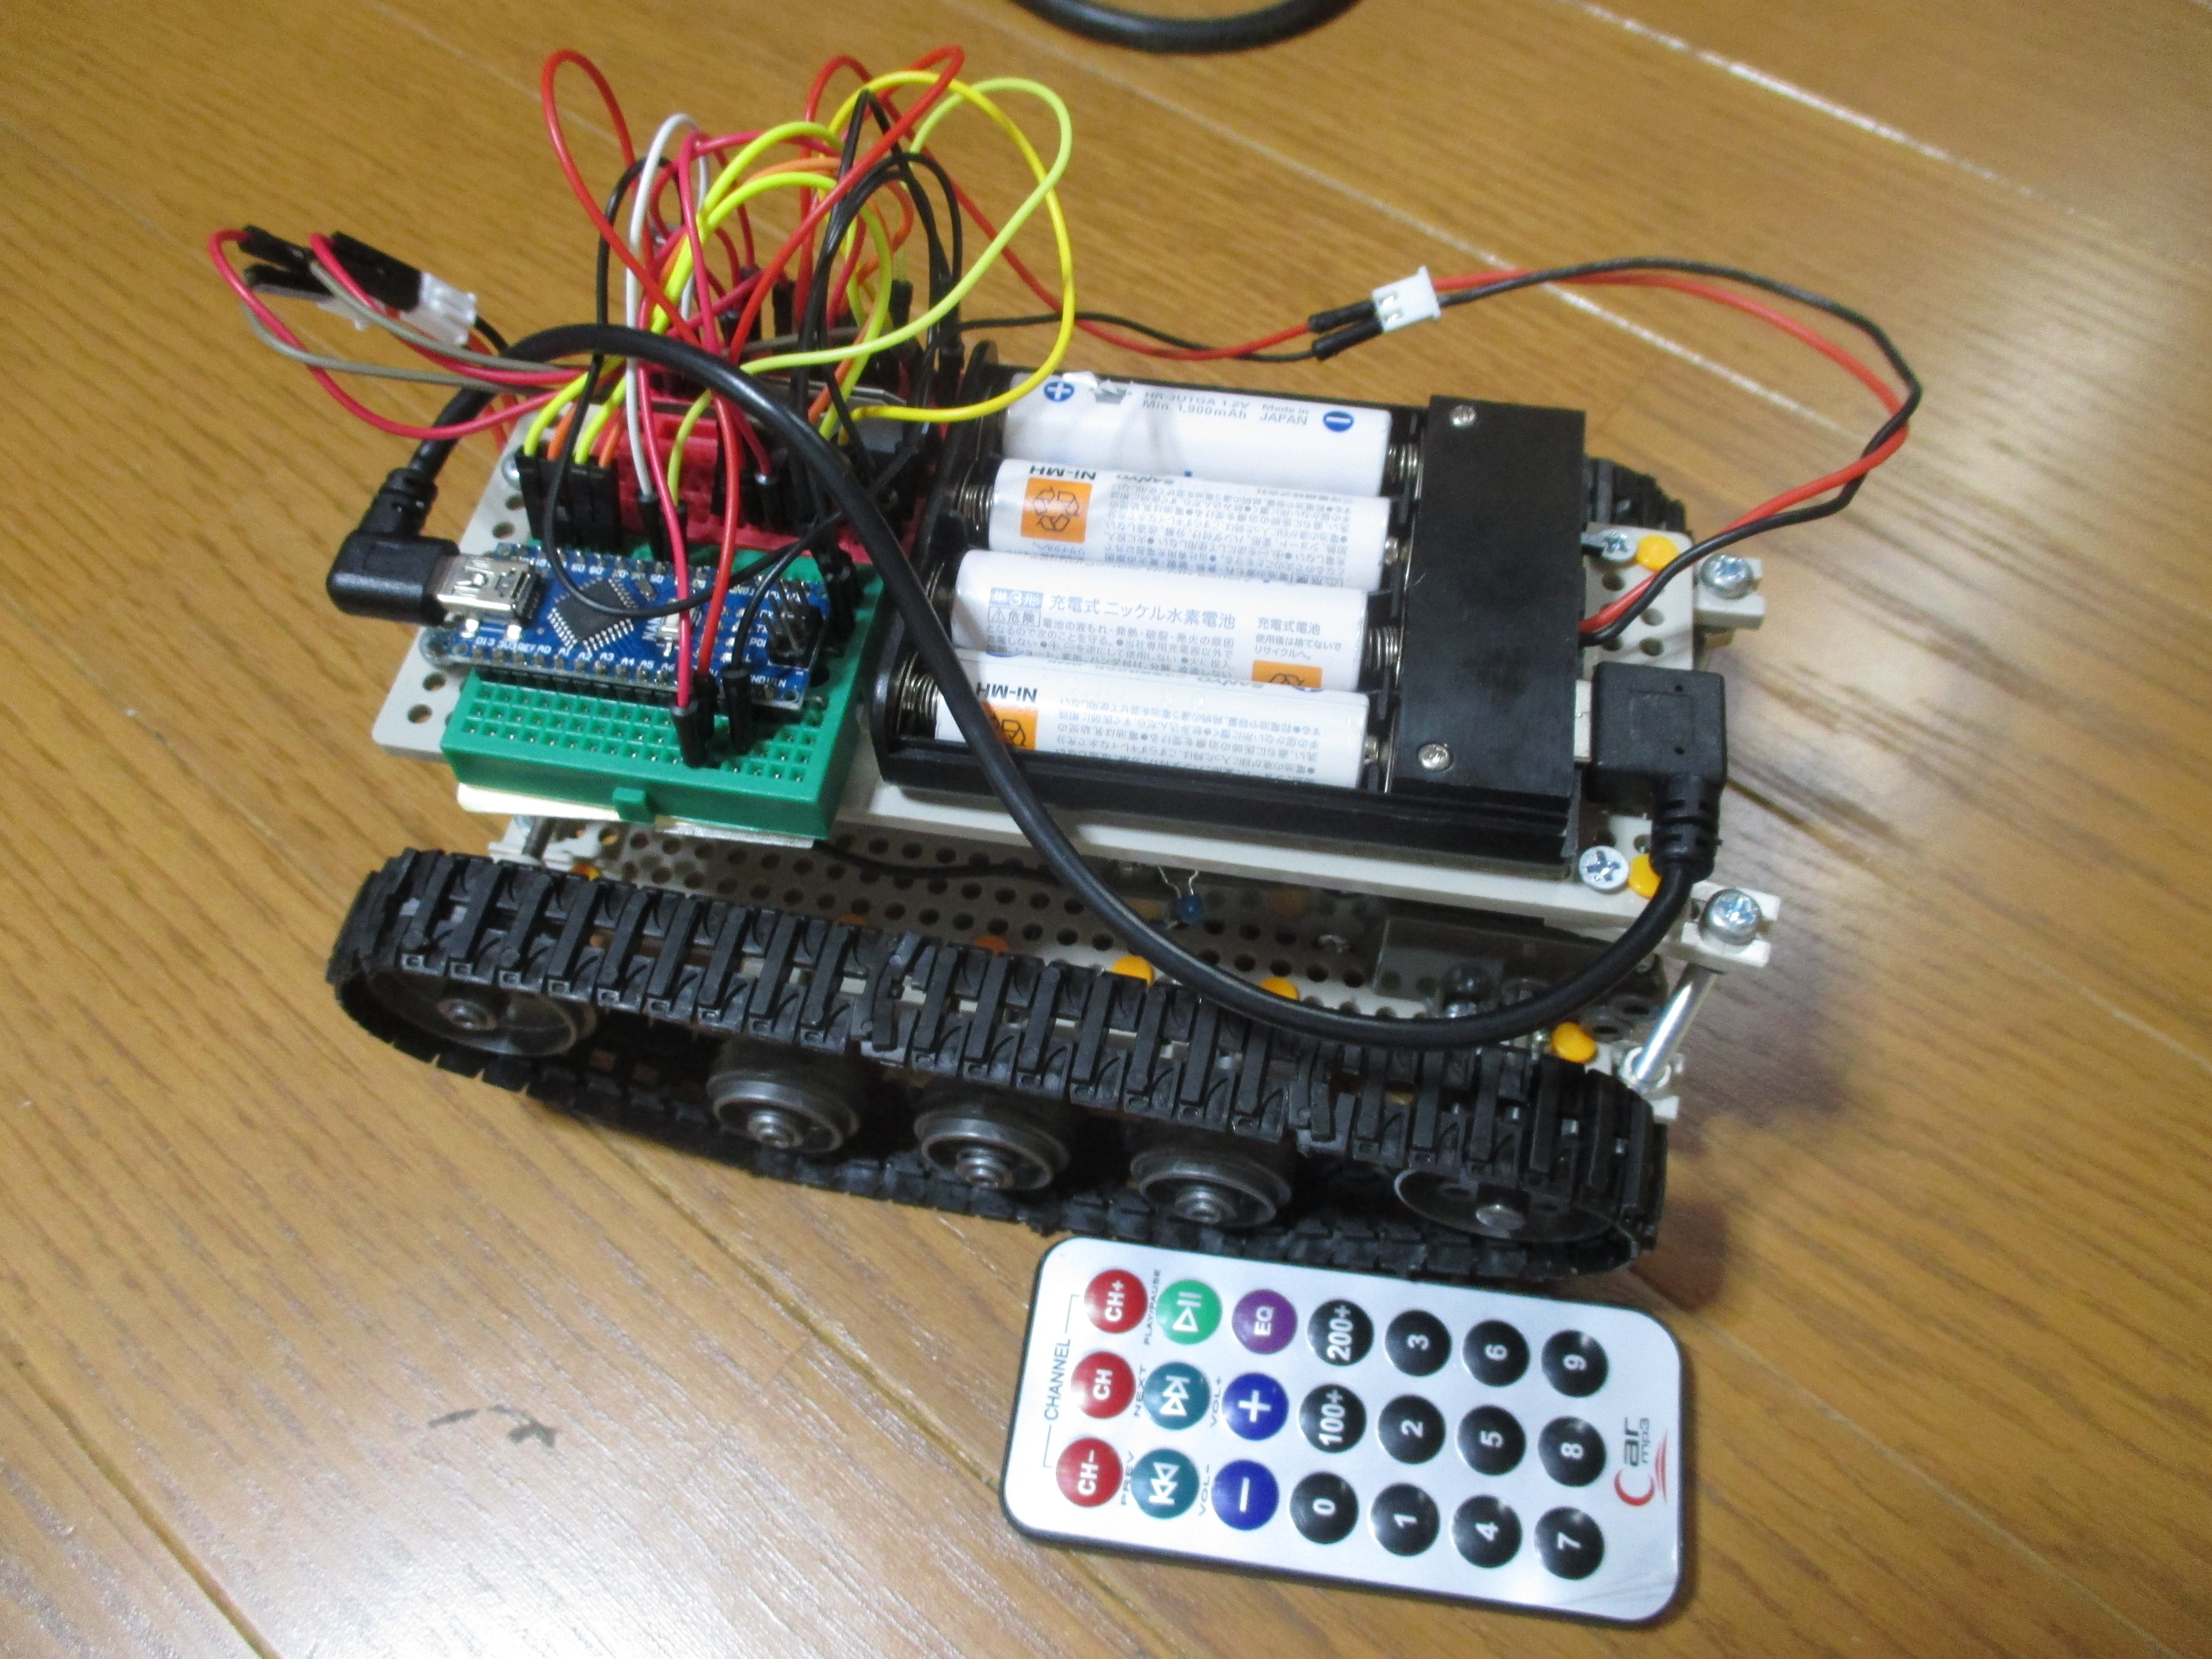
arduino NANO による赤外線コントロールカー
赤外線リモコンによる制御を試したくて、ロボットかーのコントロールを試してみた。条件は以下のとおり。
- ロボットカー本体はこれまで色々試してきた田宮のキャタピラーベース車に台を付けたもの。、モーターコントロールは東芝のTA7291を2個使用
- リモコンは osoyooの ラズパイスターターキットにはいっていたものを使用
- CPUはarduino NANO を使用
- 車の電源は単三電池四本を使用(実は空気電池四本計5.2V)

操作は、前進ボタン(2)で1秒間前進、後退ボタン(8)で1秒間後退、左右ボタン(4と6)で0.5秒間)動いた後停止する。
さらに動かしたい場合は再度ボタンを押す。リモコンは押し続けても信号の連続送出はしないため、連続操作は出来ない。必ず一操作後停止する。
Programは以下の通りである。
#include "configuration-Ver2.h"
#include
int For = 16718055; //2
int Left = 16716015; //4
int Right = 16734885; //6
int Back = 16730805;  //8

int RECV_PIN = 6;

IRrecv irrecv(RECV_PIN);
decode_results results;

void go_Advance()  //Forward
{
  digitalWrite(dir1PinL, HIGH);
  digitalWrite(dir2PinL,LOW);
  digitalWrite(dir1PinR,HIGH);
  digitalWrite(dir2PinR,LOW);
}
void go_Left()  //Turn left
{
  digitalWrite(dir1PinL, HIGH);
  digitalWrite(dir2PinL,LOW);
  digitalWrite(dir1PinR,LOW);
  digitalWrite(dir2PinR,HIGH);
}
void go_Right()  //Turn right
{
  digitalWrite(dir1PinL, LOW);
  digitalWrite(dir2PinL,HIGH);
  digitalWrite(dir1PinR,HIGH);
  digitalWrite(dir2PinR,LOW);
}
void go_Back()  //Reverse
{
  digitalWrite(dir1PinL, LOW);
  digitalWrite(dir2PinL,HIGH);
  digitalWrite(dir1PinR,LOW);
  digitalWrite(dir2PinR,HIGH);
}
void stop_Stop()    //Stop
{
  digitalWrite(dir1PinL, LOW);
  digitalWrite(dir2PinL,LOW);
  digitalWrite(dir1PinR,LOW);
  digitalWrite(dir2PinR,LOW);
}


void setup()
{
  Serial.begin(115200);
  // In case the interrupt driver crashes on setup, give a clue
  // to the user what's going on.
  Serial.println("Enabling IRin");
  irrecv.enableIRIn(); // Start the receiver
  Serial.println("Enabled IRin");
 /* pinMode(2, OUTPUT);
  pinMode(3, OUTPUT);
  pinMode(4, OUTPUT);
  pinMode(5, OUTPUT);
  digitalWrite(2, LOW);
  digitalWrite(3, LOW);
  digitalWrite(4, LOW);
  digitalWrite(5, LOW); */
}


void loop() {
  if (irrecv.decode(&results)) {
    Serial.println(results.value, HEX);
    switch (results.value) {
      case 16718055:
        go_Advance();   // turn the LED on (HIGH is the voltage level)
        delay(1000);                       // wait for a second
        stop_Stop();
        break;
      case 16716015:
        go_Left();   // turn the LED on (HIGH is the voltage level)
        delay(500);                       // wait for a second
        stop_Stop();
        break;
      case 16734885:
        go_Right() ;   // turn the LED on (HIGH is the voltage level)
        delay(500);                       // wait for a second
        stop_Stop();
        break;
      case 16730805:
        go_Back();   // turn the LED on (HIGH is the voltage level)
        delay(1000);                       // wait for a second
        stop_Stop();
        break;

    }

    irrecv.resume(); // Receive the next value
  }
  delay(100);
}
------------------------------------------------------------------------------------
configuration-Ver2.h 今回使っていない定義も入っている。
/*Declare L298N Dual H-Bridge Motor Controller directly since there is not a library to load.*/
//Define L298N Dual H-Bridge Motor Controller Pins
#define dir1PinL  12    //Motor direction
#define dir2PinL  11    //Motor direction
//#define speedPinL 6    // Needs to be a PWM pin to be able to control motor speed

#define dir1PinR  10    //Motor direction
#define dir2PinR  9   //Motor direction
#define dirRIFor  2 //remocon number 2
#define dirRILeft 3 //remocon number 4
#define dirRIRight  4    //remocon number 6
#define dirRIBack  5   //remocon number 8

#define SPEED  150     //both sides of the motor speed
int leftscanval, centerscanval, rightscanval, ldiagonalscanval, rdiagonalscanval;
const int distancelimit = 30; //distance limit for obstacles in front
const int sidedistancelimit = 30; //minimum distance in cm to obstacles at both sides (the car will allow a shorter distance sideways)
int distance;
int numcycles = 0;
const int turntime = 800; //Time the robot spends turning (miliseconds)
int thereis;
#define BARRIER 30 // 障害物までの距離
#define BARRIER1 10 // 障害物までの距離(至近距離)

// 移動時間の定義
#define T_MOVE 500
//#define T_MOVE 1000
#define T_BACK 300
#define T_LEFT 300 // 左へ90度回転
#define T_RIGHT 300 // 右へ90度回転
#define DELAY 10
#define T_STOP 300
#define OK 0
#define NG 1

